
How to Practice Retakes on a Specific CS2 Map Without Searching Random Servers

The bomb goes down at default on Mirage A in a 3v3. All three CTs group in spawn, the first player dry-swings Ramp, and the Jungle rotation arrives after the trade window has closed. You lose without putting pressure on Palace or Triple.
Waiting for that situation to appear again in Premier could take several matches. Map-specific retake practice means repeating one bombsite, plant, player count, and set of entry routes until the retake starts to make sense. On xplay.gg, you can filter CS2 Retake servers by map, switch to Pistol Retake for sidearm rounds, or build a controlled setup in a Personal Match.
This guide shows you how to turn one lost post-plant round into a drill with real positions, utility, timing, and team roles.
Random Retakes Don't Always Fix Map-Specific Problems
Public Retake removes the opening phase and drops you straight into post-plant fights. You get more defuse attempts, trades, and decisions under the bomb timer than during a full Premier or FACEIT match. This guide to how Retake servers work covers the basic format.
The problem is rotation. You join to train on Inferno B retakes, but the first five rounds send you to Mirage A, Dust 2 B, Ancient A, Mirage B, and Nuke lower. You still get useful rounds, yet none reproduce the Coffins–New Box crossfire that caused the original loss.
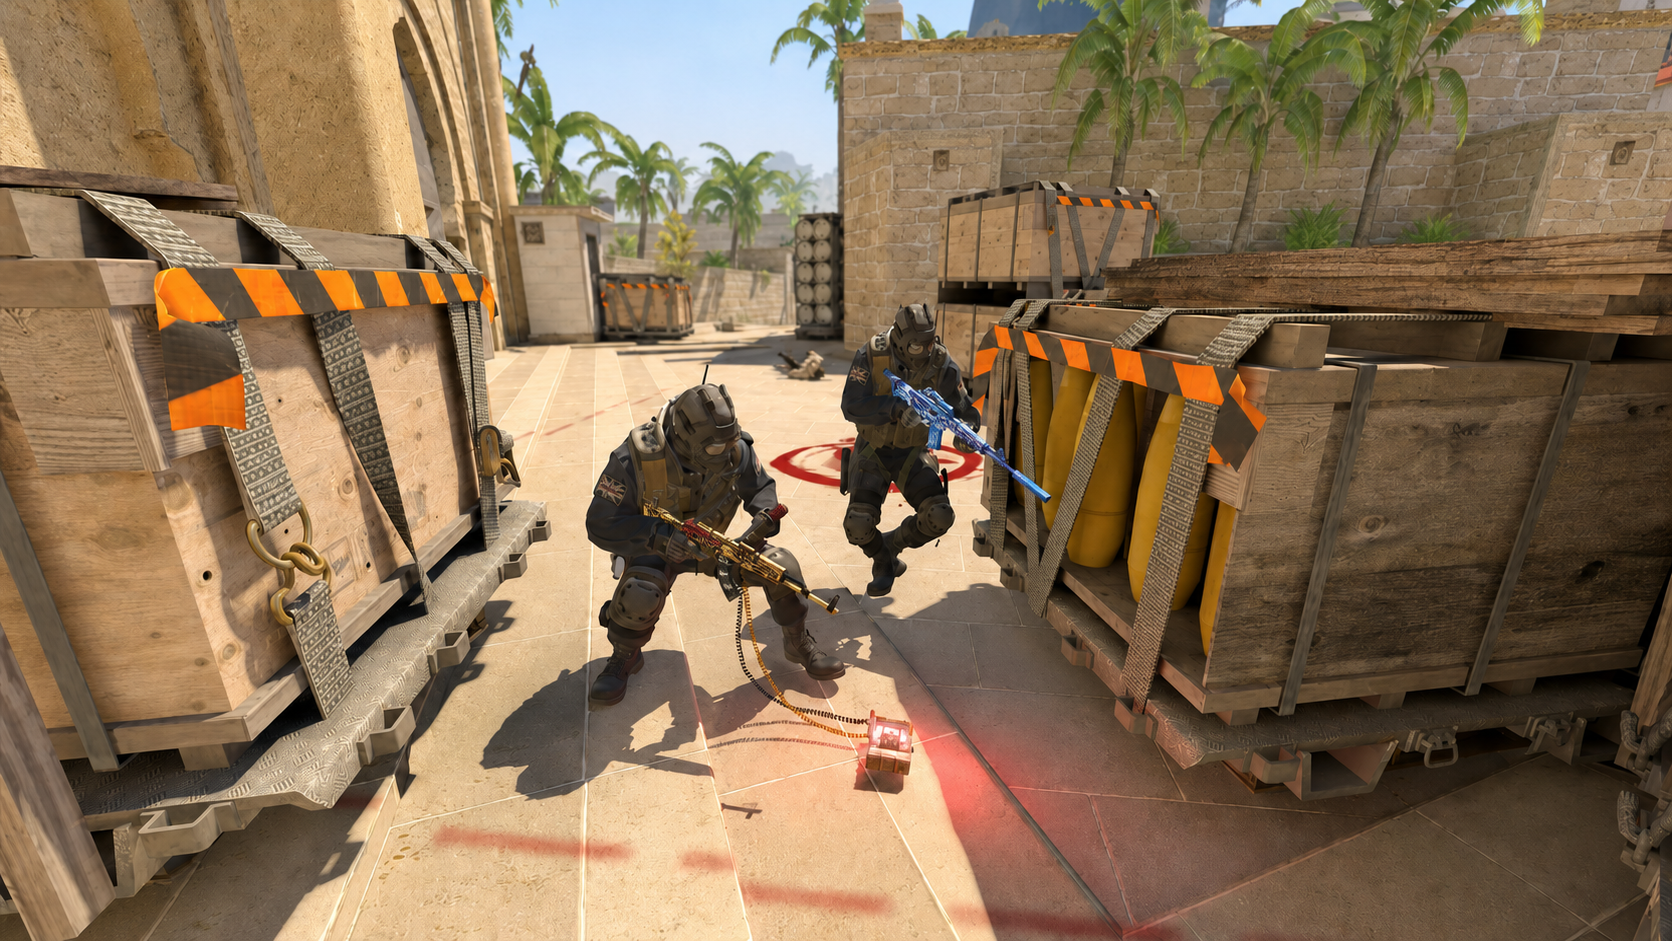
Teammates also change what each repetition trains. On Ancient B, the Ramp player may enter before the Lane teammate reaches trade range. The player in Cave gets a free kill and resets before the second CT can respond. That round tests adaptation, not the timing your stack needs to fix.
Use public servers for broad late-round experience. Once a demo exposes one repeated failure, filter by that map and recreate the exact setup.
Start With the Map and Site You Actually Lose
Pull one failed round from a recent demo and turn it into a scenario:
Ancient A, 3v3, bomb planted at default, 24 seconds left. One CT has a kit and smoke in Temple, the second has a flash in Donut, and the third rotates through CT. The Ts hold A Main, site, and a tucked post-plant angle.
Now define the drill:
- Map and site: Train Ancient A separately from Ancient B. An A retake from Donut and Temple has little in common with a B reclear through Ramp and Lane.
- Plant: Keep the bomb at default until the team understands how that plant changes the T-side sightlines from A Main and site.
- Entry routes: Send one player from Temple and another through Donut. The third either stays close enough to trade or covers the defuser.
- Known information: Run one version where A Main has already been called and another with no T positions known.
- T-side holds: Place the Ts on site and in A Main, then move only one defender after five rounds.
- Round type: Repeat the full-buy version before testing the same site with pistols.
Use your demos to set priorities instead of choosing the most popular map. If your last five FACEIT games contain four lost Inferno B post-plants and one failed Mirage A retake, Inferno deserves the next training session. A clear goal such as “Inferno B, 3v3, Ruins plus Banana, open plant, one kit” is far more useful than “train on B.”
Choose the Right Retake Format on xplay.gg
The format should match the round you're trying to reproduce.
The closer the setup is to the round you keep losing, the easier it is to carry the fix into ranked matchmaking. A useful retake session should produce situations you can recognize in your next match.
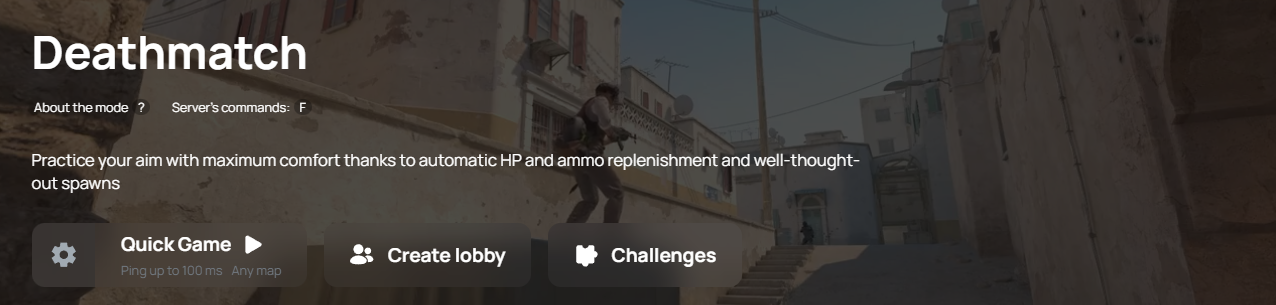
Use Deathmatch for raw engagement volume, crosshair placement, and spray control. It can sharpen your M4 burst against a player at Coffins, but it can't teach you to wait for the Banana flash, trade the Ruins entry, track the kit, and leave enough time for the defuse.
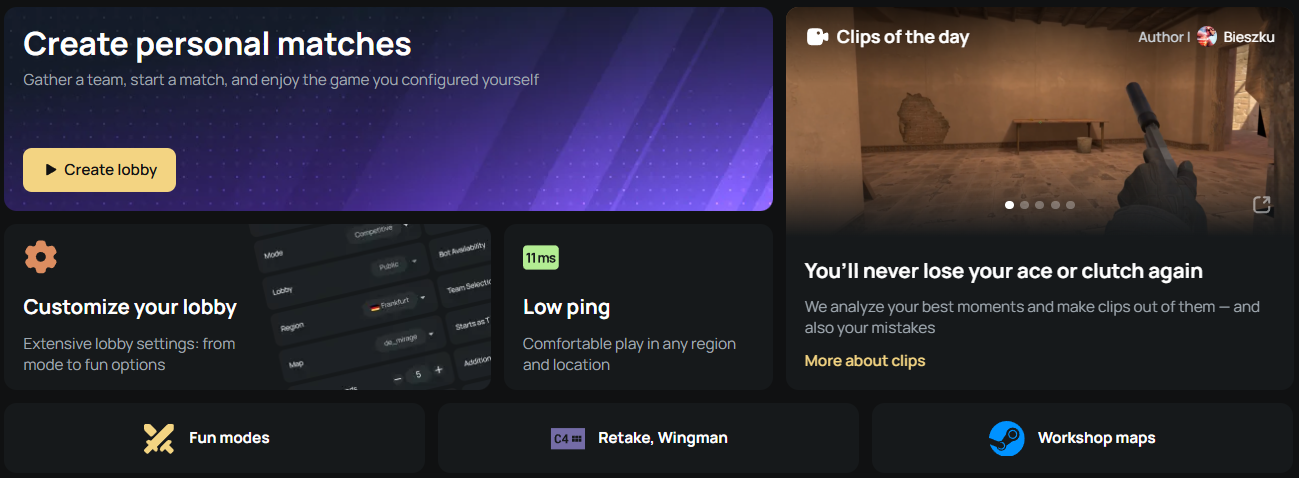
The retake formats can also form one practice loop. Imagine a public Inferno B session shows that the Ruins and Banana players keep reaching the site at different times. Confirm the mistake against several Coffins and New Box holds, then recreate that exact 3v3 in a Personal Match. Keep the plant, CT routes, and T positions fixed until both entries connect.
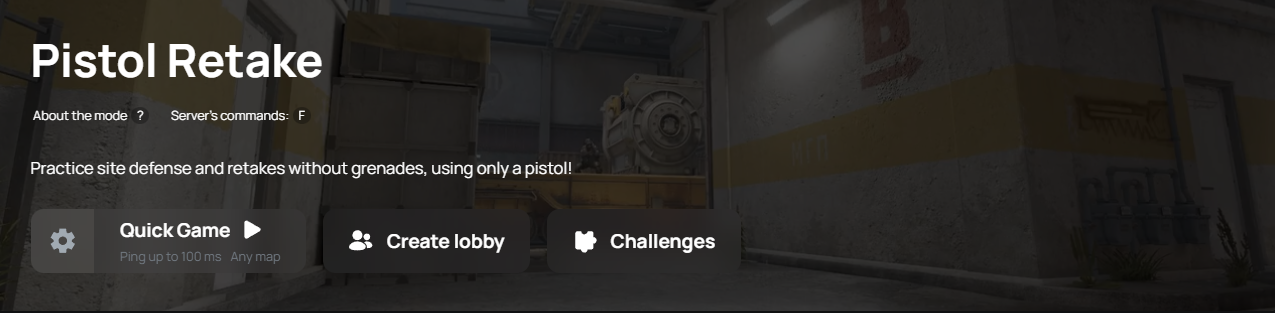
Once the rifle retake looks clean, test the same site in Pistol Retake. With limited utility and weaker weapons, mistimed swings, late trades, and poor kit protection are harder to hide. The full process is simple: find the problem in live rounds, isolate it in a controlled setup, then test the corrected timing under pistol-round pressure.
What to Practice on Each Retake Repetition
Don't judge the drill only by round wins. A lucky stick can hide a bad entry.
Retake or save – On an Inferno A 2v3 with 17 seconds left, no kit, and one M4 worth carrying into the next round, save. Make it a 3v2 with 27 seconds, one kit, and a Pit molly, and the retake is still playable.
First contact – On Dust 2 B, the player coming through Doors swings Back Site while the Window player is still blocked by a smoke. The T at Car gets the opening frag and escapes. Delay the swing until Window can trade or force the Ts to split their attention.
Utility plan – On an Inferno B reclear, the Ruins and Banana players both smoke Coffins. New Box remains open, so the first CT still has to clear two angles. Call “smoking Coffins” early and use the second nade to molly New Box. Keep a small set of Retake grenade lineups by map that your team can land under pressure.
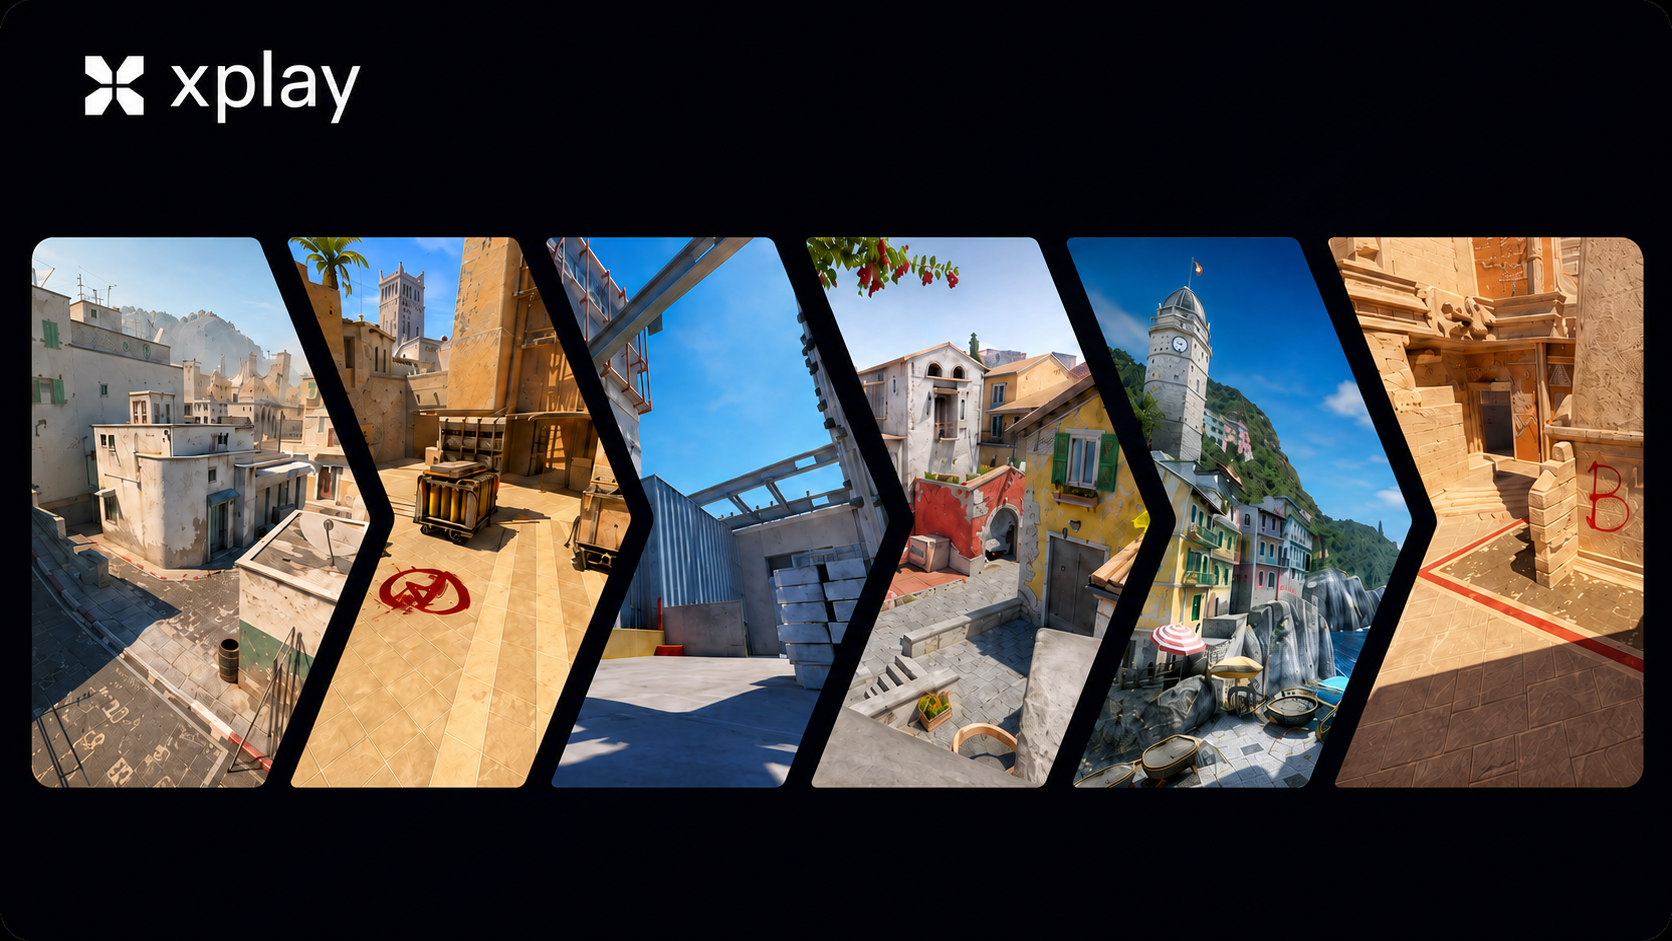
Trade spacing – On Mirage B, the Market player swings Bench while the Short teammate is still clearing Van. Wait until both players can see the site, then let one take contact while the other is ready to trade.
Site reclear – During a Nuke lower retake, two CTs stare at the plant while a T swings from Decon. Assign one player to clear the bomb area, one to hold Decon, and the third to watch Dark or the flank. Each player should cover a different threat.
Bomb control – On Dust 2 A, the bomb is planted at default for Long. The kit player taps while the Short teammate holds the Long swing. Chasing the final T gives away the defuse; forcing that player to peek keeps the advantage with the CTs.
After five rounds, record the result. If the first death was traded twice, both CT groups reached the site together three times, and the kit player reached the bomb once, the next training should fix entry timing and defuser protection — not add more lineups.
Map Examples: How to Turn a Weak Site Into a Drill
Use these starting states for five rounds, then change one T hold or CT route.
Don't cycle through every map in one session. Ten focused rounds on one site reveal more than two rushed attempts on five maps.
How to Practice Retakes With Friends
Three to six players are enough. Start with a ten-round Mirage A training session:
- Plant at default and put the Ts at Ramp and Palace.
- Send one CT from spawn and the other from Jungle.
- Keep the same positions for five rounds.
- Swap sides and repeat.
- After round ten, move the Palace player to Triple or switch the Jungle route to Connector — never both at once.
The T side also needs a task. The Ramp player keeps vision on the bomb while the Palace player waits for the defuse sound. When the CT with the kit taps, the Palace player swings first and the Ramp player trades. If both Ts peek spawn before the tap, they throw away their timer advantage.
You can create a Personal match, choose the map and rules, then agree on the site, plant, and roles as a group. The guide to custom rules for private lobbies covers weapon limits, bots, round settings, and other options.
Keep comms short: “smoking Stairs,” “flashing over site,” “contact in two,” “kit on me,” and “stick — I have Palace.” Review mistakes after the round so mid-round discussion don't cover important sound cues.
Final Thoughts on Building a Red CS2 Loadout
Start with the pistols and rifles you use most, then add matching skins for secondary weapons, a knife, and gloves. Test the complete setup before buying to make sure every part works together in-game.