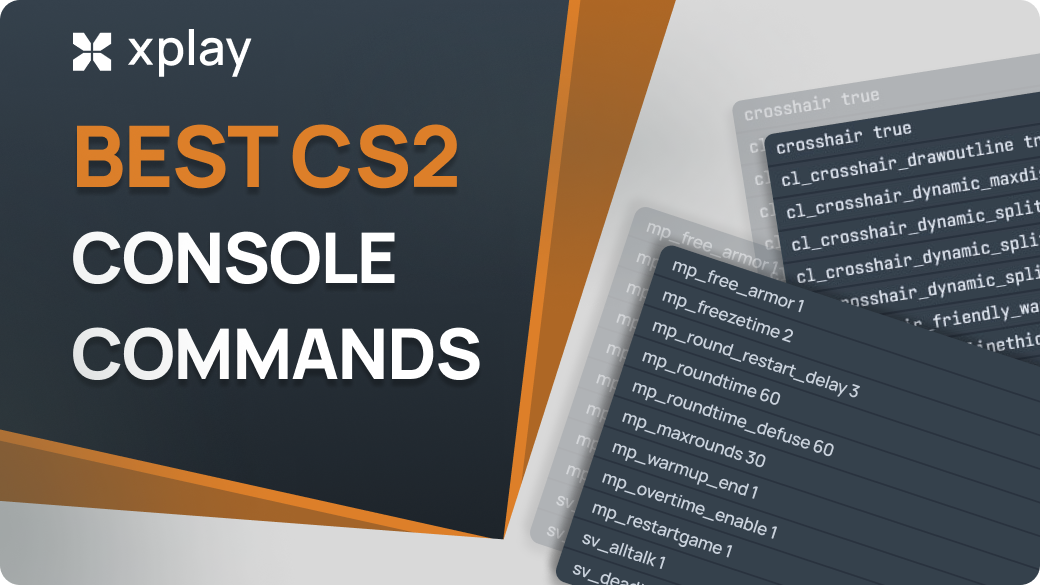
Best CS2 Console Commands 2026 for FPS & Practice

If you want to get the most out of Counter-Strike 2, the developer console is still one of the most powerful tools available. Whether you’re optimizing performance, improving your practice routine, or customizing your HUD, the right commands can make a noticeable difference.
In this guide, the xplay.gg team will walk through the most useful and actual CS2 console commands, grouped by purpose, and explain how to actually use them in real scenarios.
What Are Console Commands in CS2?
Console commands for CS2 allow players to activate changes or customizations in the game instantly. In Valve's shooter, console commands are often used to improve gameplay comfort, increase FPS, and minimize lags. But console commands can also be used to enhance your skills and sometimes to have fun with your friends.
How to Enable the Developer Console in CS2
Step-by-Step Guide to Access the Console
Before using any commands, you need to enable the developer console:
- Start CS2 and go to the main menu.
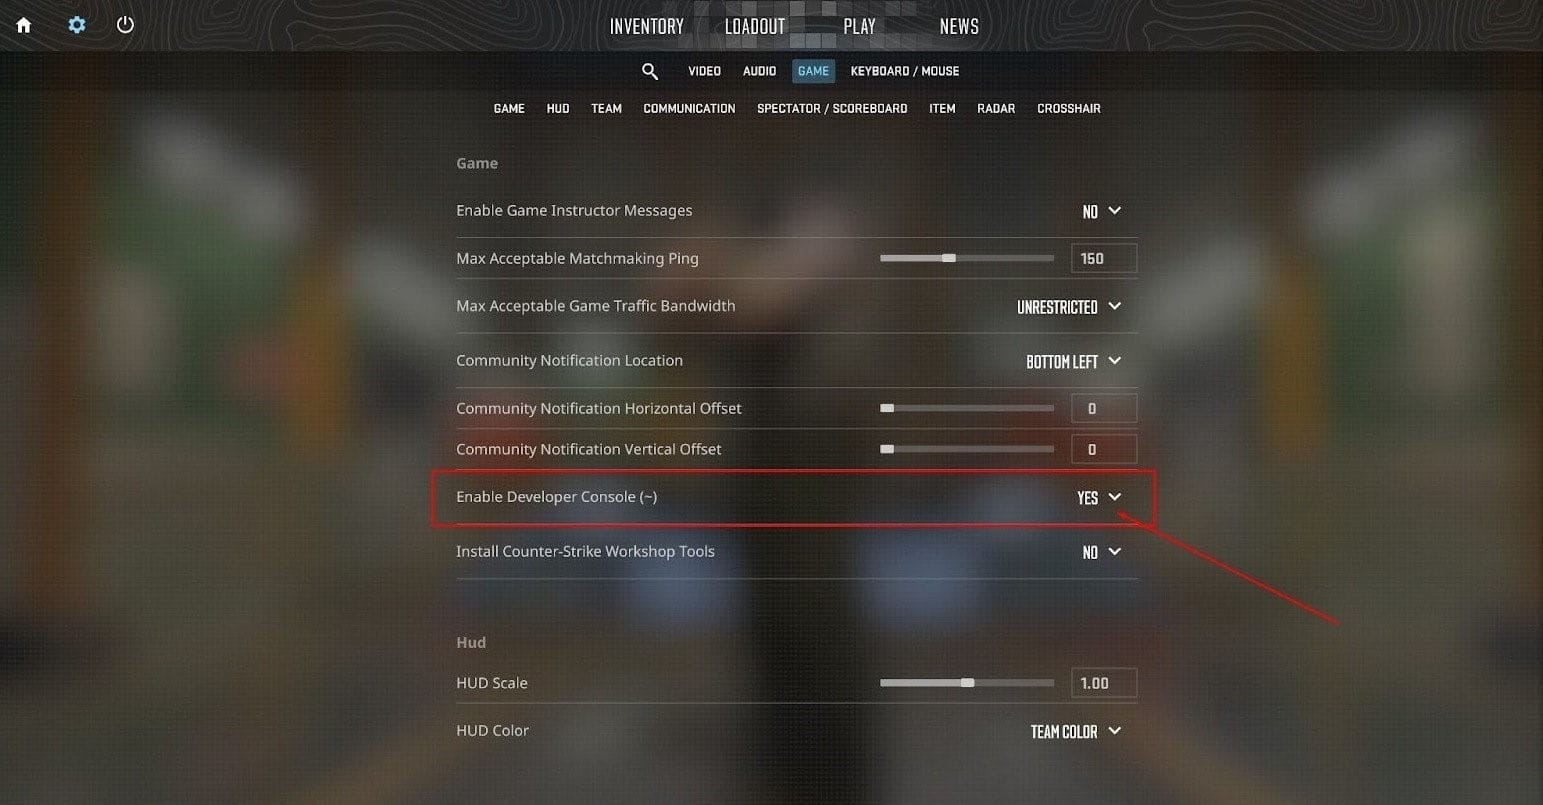
- Select the gear icon in the lower left corner to open the settings menu.
- From the settings menu, select the "Game Settings" tab.
- Scroll down until you find the "Enable Developer Console (~)" option. Make sure this option is set to "Yes".
- Press the "~" key on your keyboard to open the console. It is usually located below the "Esc" key and above the "Tab" key.
- Once the console is available, you can enter various commands to customize the settings.
Console Commands for Better Gameplay
Not all console commands serve the same purpose — some improve performance, others help you train more efficiently, and some are purely about comfort and visual clarity. Instead of using random commands, it’s much more effective to group them based on what you’re trying to achieve.
Below, we’ve organized the most useful CS2 commands into clear categories: performance, network, practice, and customization. This way, you can quickly find what you need.
Performance & FPS Commands
These commands help improve visibility, reduce distractions, and optimize performance.
- fps_max 0 — removes the FPS cap completely
- fps_max 300 — caps FPS at a stable level (good for consistency)
- cl_showfps 1 — shows FPS in the corner of your screen
- cq_netgraph 1 — displays network and performance stats
- r_drawtracers_firstperson 0 — removes bullet tracers from your view (less visual clutter)
- engine_low_latency_sleep_after_client_tick 1 — can help reduce input latency in some cases
- r_fullscreen_gamma — adjusts brightness (useful for improving enemy visibility)
If your game feels inconsistent or visually noisy, start here. Many players prefer disabling tracers to focus better during sprays.
Network Commands
These commands ensure smoother communication with the server, especially important for competitive play.
- rate 786432 — sets maximum data rate
- cl_updaterate 128 — number of updates received per second
- cl_cmdrate 128 — number of updates sent per second
These values are optimal for 128-tick environments (Faceit, Premier). For lower-quality connections, you may need to adjust them slightly.
HUD & Interface Customization
Customizing your interface can improve clarity and reduce distractions.
- hud_scaling 0.85 — adjusts overall HUD size
- cl_hud_color 5 — changes HUD color (values 0–10)
- cl_showloadout 1 — always shows your loadout
A cleaner HUD helps you process information faster, especially in clutch situations.
Practice & Training Commands
We've handpicked the best CS2 training commands for you, vital for customizing your game environment, perfecting moves, and honing your strategic skills.
- sv_cheats 1 — enables cheat commands (required for most practice tools)
- sv_infinite_ammo 1 — unlimited ammo (great for spray training)
- sv_grenade_trajectory_prac_pipreview 1 — shows grenade trajectory preview
- mp_restartgame 1 — quickly restart the round
- sv_showimpacts 1 — shows bullet impact points
- sv_showimpacts_time 10 — sets how long impacts remain visible
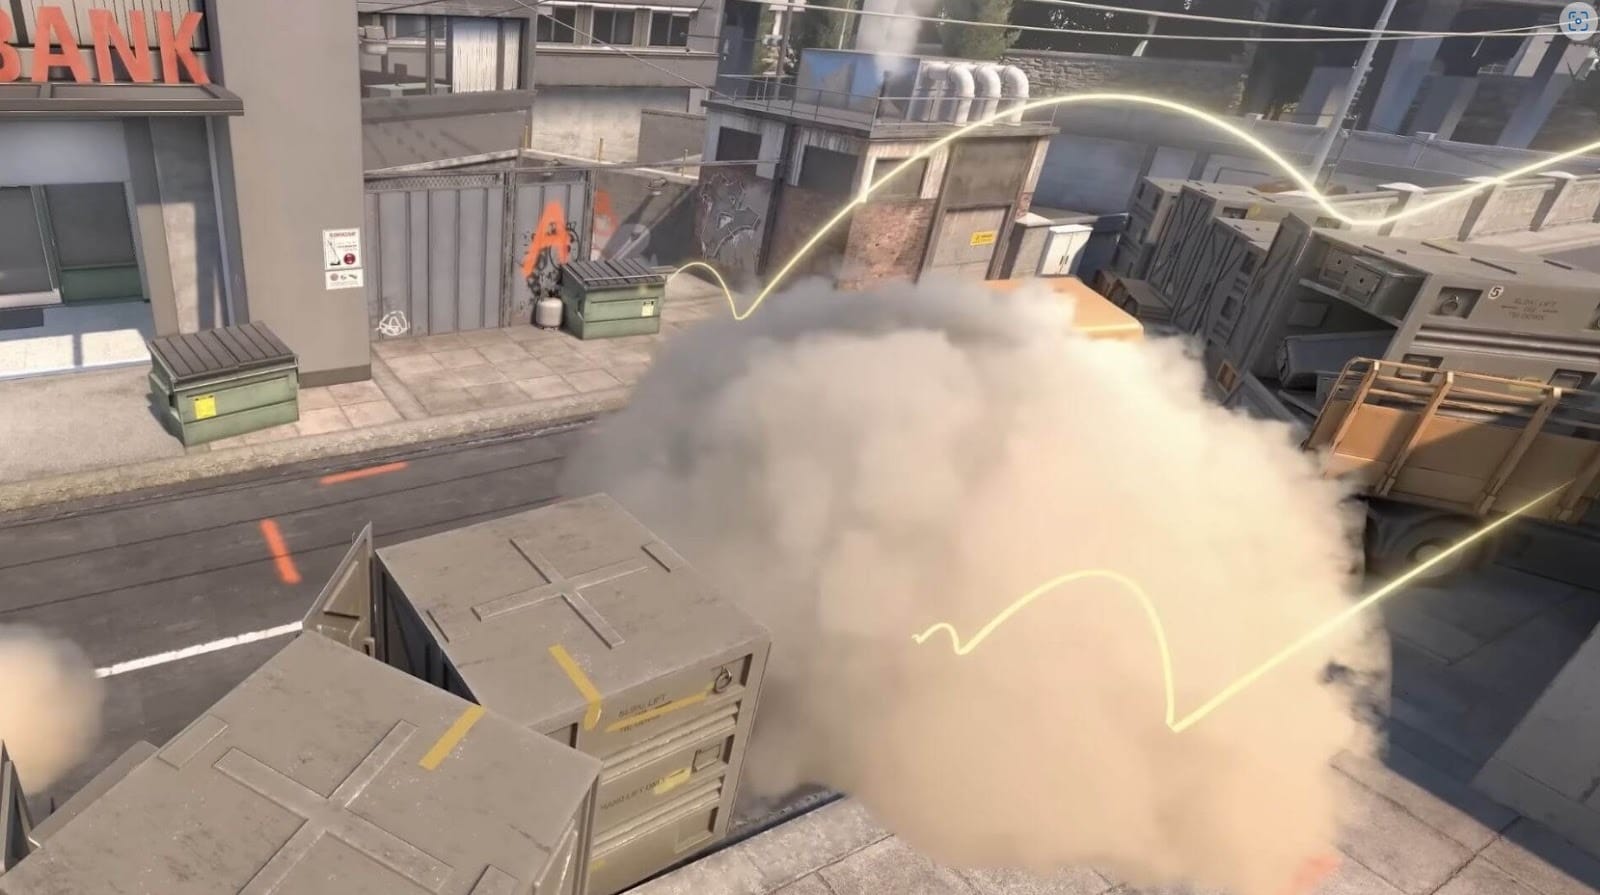
- sv_grenade_trajectory 1 — enables grenade trajectory visualization
- sv_grenade_trajectory_time 10 — controls how long the trajectory is visible
- bot_kick — removes all bots from the server
- bot_add — adds a bot
- mp_freezetime 0 — removes freeze time at the start of rounds
- mp_roundtime 60 — extends round time for longer practice sessions
- mp_buy_anywhere 1 — allows buying weapons anywhere on the map
Example Use Cases
Grenade Practice:
- Load a map
- Open console and enter:
- sv_cheats 1
- sv_grenade_trajectory_prac_pipreview 1
- sv_infinite_ammo 1
- Practice lineups with visible trajectories
Spray Control Training:
- Combine infinite ammo with recoil practice maps
- Disable tracers (r_drawtracers_firstperson 0) to focus on pattern control
Practice More Effectively on Community Servers
While local practice with console commands is essential, many players combine it with community servers to simulate real gameplay.
Platforms like xplay.gg take this a step further by offering structured practice modes such as Deathmatch, Retake, and Duels — all running on stable servers designed for improvement.
What makes it especially useful is the challenge-based system: instead of just grinding aim, you complete specific tasks (like getting kills with certain weapons), which encourages more focused training. Some players also use it as a warmup routine before competitive matches.
Another interesting feature is the ability to earn rewards while practicing, which adds an extra layer of motivation. You can read about how to get skins and rewards in this blog post on xplay.gg: How to Get Free CS2 Skins. But if you want to get the skin right now, then you might be interested in this article: CS2 Skinchanger: How It Works and How to Access It on Our Servers.
Crosshair & Viewmodel Commands
Your crosshair and weapon positioning directly affect your aim and comfort.
Crosshair
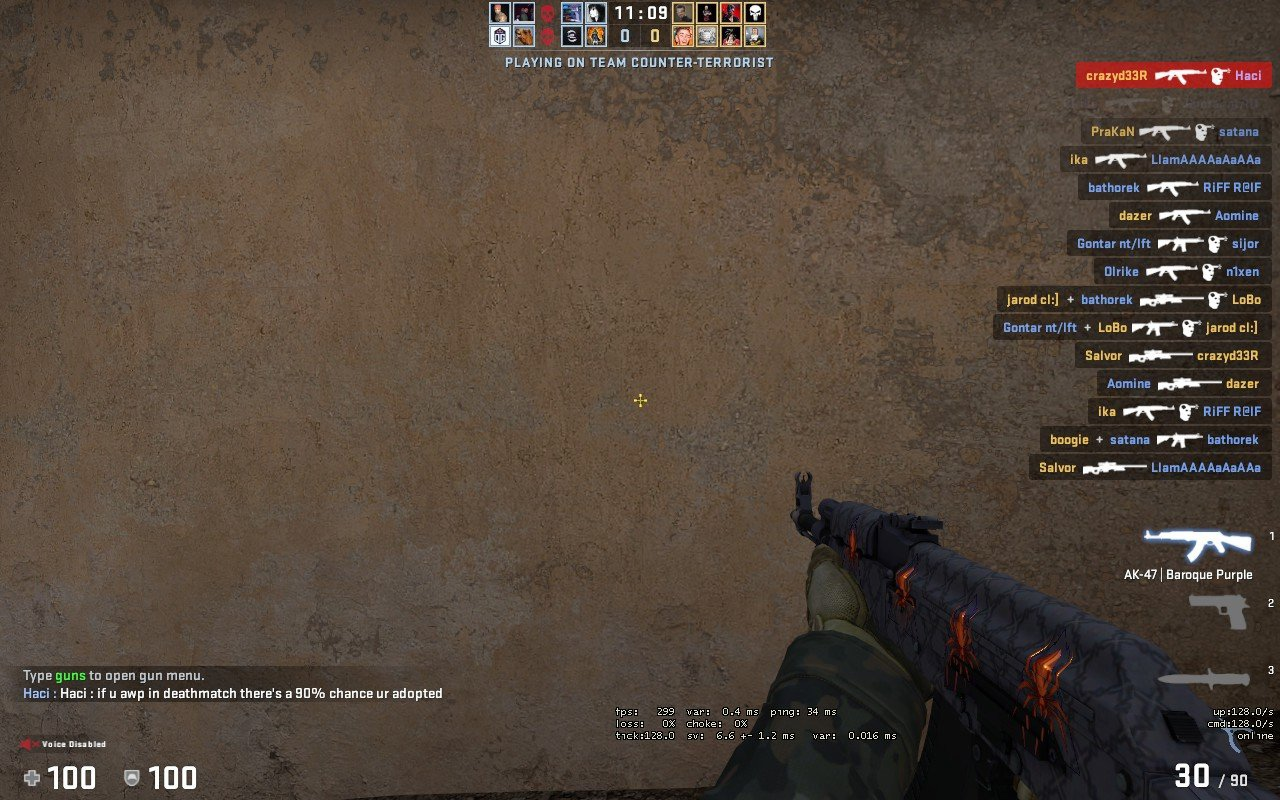
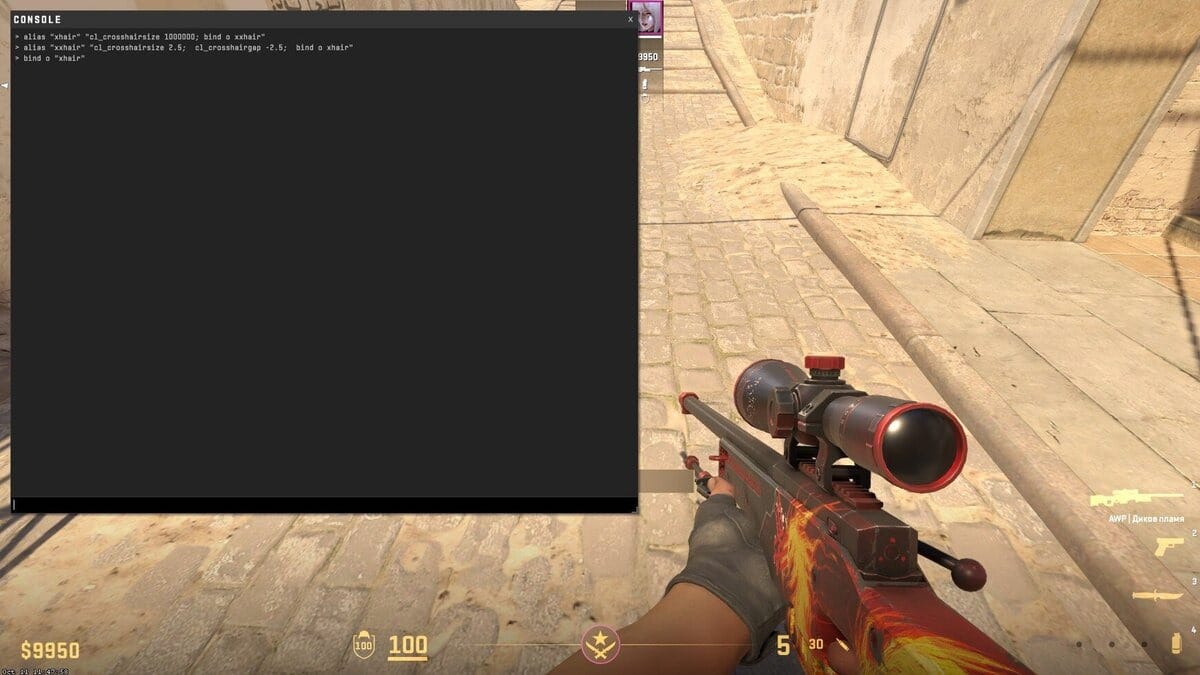
- cl_crosshairsize — controls crosshair size
- cl_crosshairthickness (0–6) — changes crosshair thickness
- cl_crosshairgap (-5 to 5) — adjusts the gap in the center
- cl_crosshair_drawoutline — enables or disables a crosshair outline
- cl_crosshaircolor_r / g / b — allows full RGB color customization
- cl_crosshairsize (0–10, supports decimals) — adjusts the overall size of your crosshair
- cl_crosshairdot 0/1 — enables or disables the center dot
- cl_crosshair_t 0/1 — enables a T-shaped crosshair (removes the top line)
- cl_crosshairalpha (0–255) — controls crosshair transparency
Viewmodel
- viewmodel_fov 68 — changes field of view for your weapon
- viewmodel_offset_x — horizontal position
- viewmodel_offset_y — depth
- viewmodel_offset_z — vertical position
Many players increase FOV and move the weapon to the side for better visibility.
What Is autoexec.cfg and Why You Need It
The autoexec.cfg file is a custom configuration file that CS2 automatically executes every time you launch the game. Think of it as your personal preset: instead of typing the same console commands over and over again, the game loads them for you instantly.
Why use autoexec.cfg?
- Saves time — no need to re-enter commands every session
- Ensures consistency — your settings are always applied correctly
- Great for practice setups — instantly load training configs
- Easy to edit and update — just change the file once
In short, if you use more than a few console commands, an autoexec file is essential. We've written a detailed guide on how to create an autoexec.cfg file, but we'll give a brief overview below.
How to Create and Set Up autoexec.cfg in CS2
Follow these steps carefully:
1. Find Your CS2 Config Folder
Navigate to your CS2 installation directory:
Steam → steamapps → common → Counter-Strike Global Offensive → game → csgo → cfg
Yes, the folder is still named “csgo” — this is normal in CS2.
2. Create the autoexec.cfg File
- Right-click inside the cfg folder
- Select New → Text Document
- Rename it to: autoexec.cfg
Make sure the file is not named autoexec.cfg.txt
3. Add Your Commands
Open the file with Notepad (or any text editor) and add your commands, one per line. For example:
- fps_max 300
- cl_showfps 1
- rate 786432
- cl_updaterate 128
- cl_cmdrate 128
- hud_scaling 0.9
- cl_hud_color 5
4. Save the File Correctly
- Click File → Save As
- Set file type to All Files
- Ensure encoding is UTF-8 (recommended)
- Save as: autoexec.cfg
5. Make Sure It Runs Automatically
To guarantee the file loads on startup:
- Open Steam
- Right-click CS2 → Properties
- In Launch Options, add: +exec autoexec.cfg
6. Test It In-Game
Tips:
- Back it up before making big changes
- Create separate configs for practice and competitive play
Common Issues and Troubleshooting with CS2 Console Commands
Sometimes, players encounter the error "command not recognized or disabled" when using console commands. This can be caused by various factors, ranging from improper keyboard/mouse settings and microphone permissions to problems running the game.
First, ensure your game's keyboard and mouse settings are correctly configured and support input reception.
Next, make sure that the microphone resolutions match your preferences and that the game recognizes the sound from it.
Finally, ensure the game starts correctly and runs without complications or malfunctions.
To fix other problems, take simple steps such as checking console activation in settings, checking for conflicts in key bindings, resetting console position and dimensions, and ensuring the integrity of game files. By systematically addressing these issues, players can restore functionality to the CS2 console and continue to play.
- Navigate to the "C: Program Files (x86)Steamuserdata730localcfg" directory.
- Open the file "cs2_machine_convars.vcfg" using Notepad.
- Use the keyboard shortcut "Ctrl+F" to search for "panorama_console_position_and_size" or simply "panorama".
- Change the quote string to "20.00|20.00|200.00|200.00|200.00".
- Restart CS2.
Confirm Console Activation
Make sure you have enabled the developer console in the CS2 settings:
Open the game's settings menu. Click on the "Game" tab. Set the "Enable Developer Console (~)" option to YES. This step is crucial to accessing the console.
Confirm Key Bindings
Verify that the console key bindings are correct.
Confirm the key bindingsVerify that the console key bindings are correct. By default, the console is bound to the "~" key.
If you have configured this binding, use the correct key to open the console.
Check for Key Bindings Conflicts
Sometimes, other key bindings or third-party software can interfere with the console. Make sure there are no conflicting key bindings on your keyboard.
Update Graphics Drivers
Outdated or incompatible graphics drivers can lead to various problems, including console problems.
Check the Сonsole for Уrrors
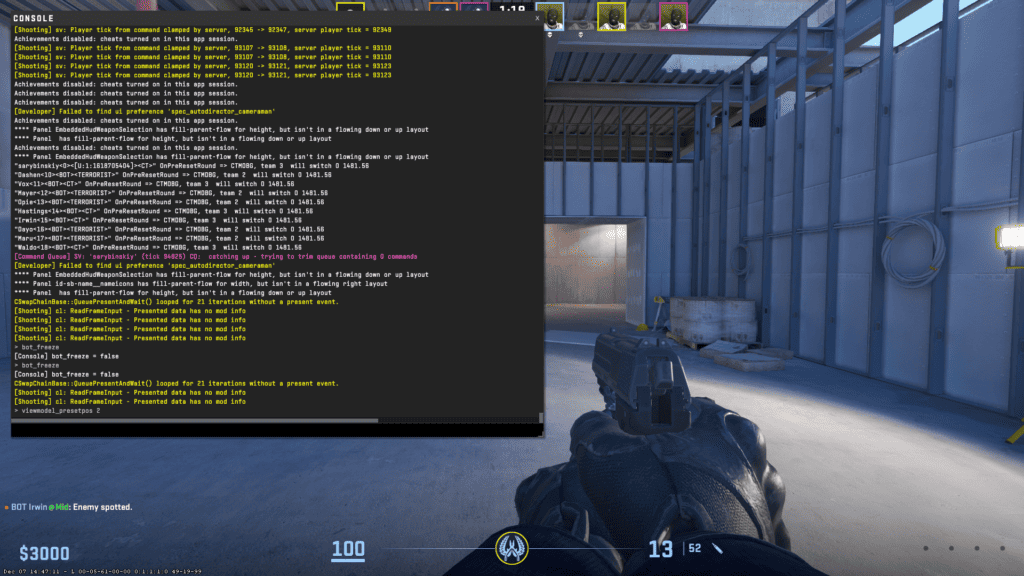
While in the game, press the console key to open the console. If the console displays error messages or notifications, note them. These messages can help you understand the root cause of the problem.
Contact Support
If none of the above steps solve the problem and your CS2 console malfunctions, contact the official CS2 customer support team for further assistance.
CS2 console commands are no longer about tweaking obscure engine settings — instead, they’re about clarity, consistency, and efficient practice.
For many players, the best results come from combining practice via console commands with real-game scenarios on community platforms.
Tools like xplay.gg, with their mix of training modes and challenges, are a good example of how modern CS2 practice is evolving — from simple aim maps to more engaging and goal-driven improvement systems.
FAQ
What are the most useful console commands in CS2?
The most useful console commands in CS2 are those that improve performance, visibility, and practice efficiency. This includes settings for stable FPS, tools to monitor performance, practice commands for training mechanics, and customization options for your HUD and crosshair.
Can console commands improve my gameplay in CS2?
Yes — but indirectly. Console commands won’t magically make you a better player, but they help create better conditions for improvement. For example, higher and more stable FPS → smoother aim.
In short, they remove distractions and let you focus on what actually matters: mechanics and decision-making.
How do you bind keys using console commands in CS2?
To do this, open the developer console and use the CS2 bind key command format: bind "key" "action". For example, bind "n" "buy ak47; buy vesthelm" - buy AK-47 and armor by pressing the "n" key. After that, press Enter to set the bind.