How to Practice CT Anchor Positions in CS2 Without Getting Isolated

You are alone on B. You hear footsteps, see the first smoke land, panic-peek the choke point, get traded instantly, and now your team has to retake 4v5 with no site control.
That round usually isn’t lost just because you missed a shot. It falls apart because you played the site like a forced duel instead of a delay role.
A good CT anchor in CS2 does more than sit on a bombsite and wait for contact. The role is about slowing the enemy push, giving clear information for the team, staying alive through first contact, and forcing attackers to spend utility, time, or players before the site is fully taken.
This xplay.gg guide explains how to practice CT anchor positions without getting stuck in isolated fights, how to use delay utility before risky duels, when to fall back through safe routes, and how to repeat anchor scenarios in Retake, 5x5, and Personal Matches until your defensive decisions feel natural.
A Good CT Anchor Buys Time Before Chasing Kills
A lot of anchors get into trouble because they think they have to stop the whole site push by themselves.
Sometimes you can. You catch the entry with a flash in hand, punish a lazy clear from an off-angle, and suddenly the Ts have to slow down. But most rounds are not that clean. Your real job is to buy enough time for your teammates to rotate.
If you die in the first 3 seconds of contact, your team loses the site, your information, your remaining utility, and one more player for the retake.One extra smoke, molly, flash, or safe fallback can turn a fast push into a round your team can still play.
When you practice this role, aim is only part of it. You also need game sense, patience, and clear decisions under pressure. Learn how long you can hold your anchor spot, when to drop a smoke or molly, when to call the rotate, and when to give up the site instead of dying for free.
Think of anchoring as a sequence:
- Get early info.
- Hold a useful first angle.
- Slow the enemy push with utility.
- Take a fight only when it can be traded or when it can stop the plant.
- Fall back or tuck after you are spotted.
- Keep calling numbers, enemy weapons and utility, bomb info, and plant position.
Strong anchors are not always the top fraggers. They make the site push messy, force the Ts to clear more angles, and keep the round alive long enough for the team to rotate.
A solo B player who stays alive for 8 seconds can do more for the round than one who gets a kill and dies right away. The first player gives the team a playable retake. The second might still leave everyone guessing where the bomb is going.
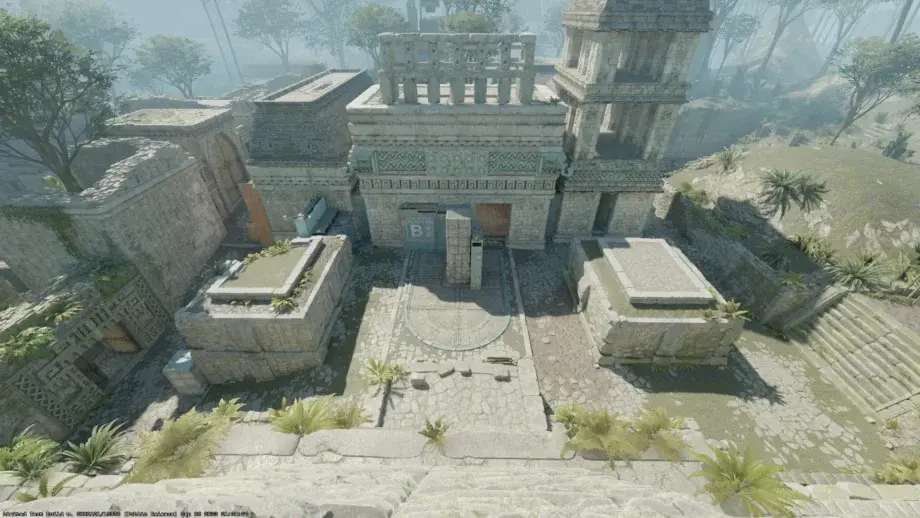
Proceed to xplay.gg and create Personal Match to repeat real site hold from your map pool. For example, play solo B anchor and drill the same sequence: hold your first angle, drop your smoke or molly when the enemy push starts, call the info, then choose between fighting, tucking, or falling back for retake. Run the same setup several times until you know when you are dying for free and when you are buying enough time for the team to rotate.
Before moving into live reps, you can also use the best CS2 practice maps for aim and nades to warm up.
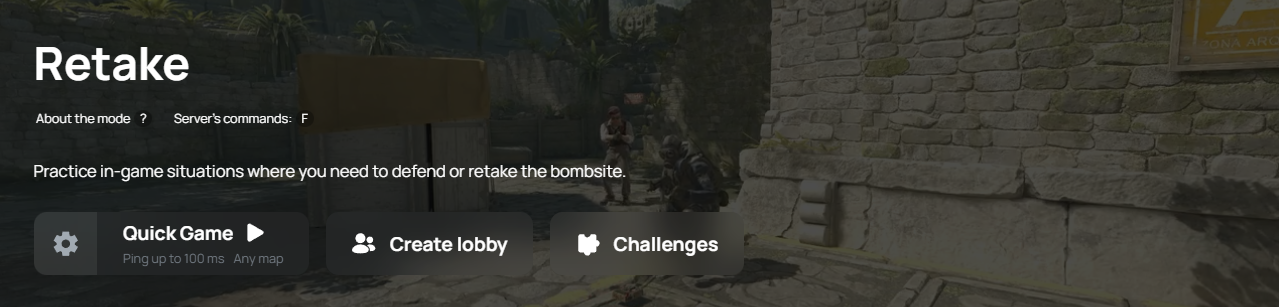
Then try Retake mode to practice holding against late site pressure on different maps. That builds game sense, because anchoring is not only about aim. You need to read the game, choose the right fight, and understand when the round should turn into a retake.
CT Anchors Need Fallback Routes and Utility Plans
A site position should never be just a spot where you stand still and hope you’ll win with your aim skill.
Before the round starts, you should already know three things:
- your first contact angle;
- your delay utility;
- your escape or fallback route.
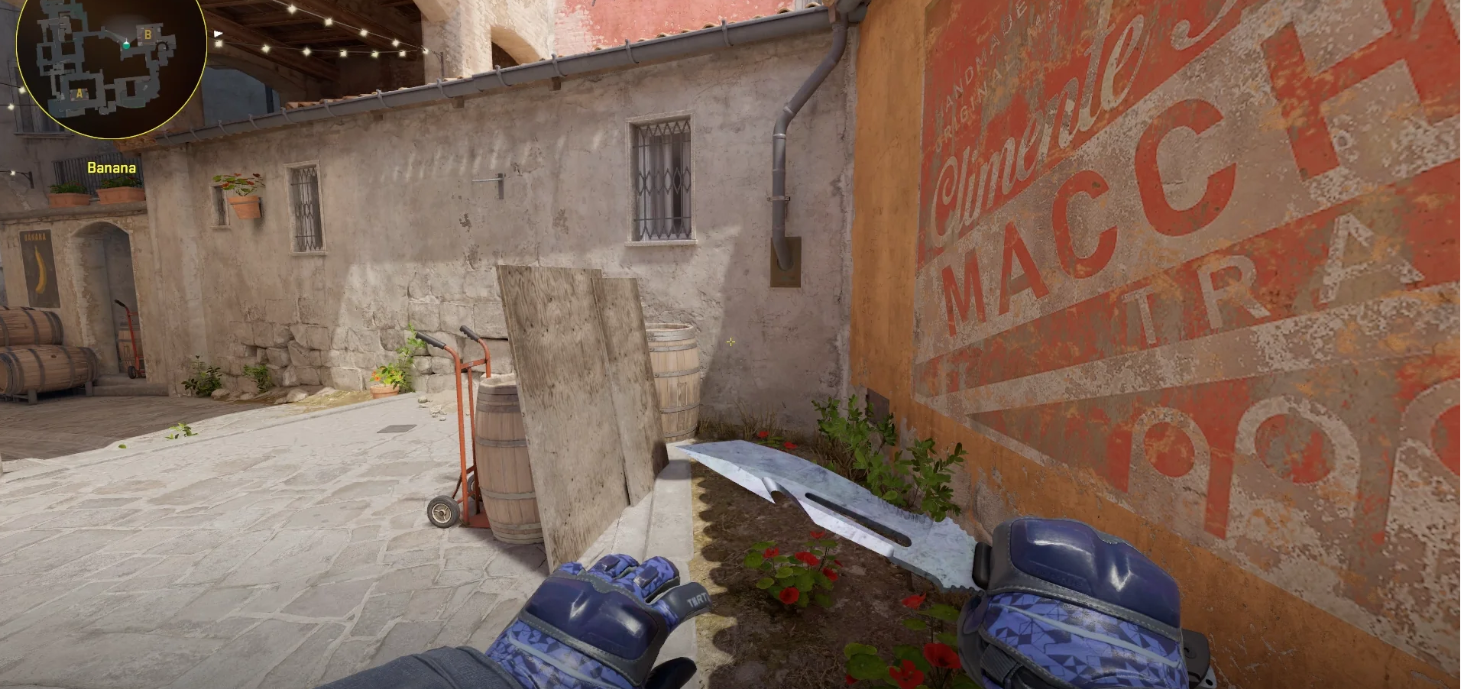
A fallback route is the path you take when staying on the same angle becomes too dangerous. It might mean falling from site into CT spawn, moving behind default cover, repositioning into a deeper bombsite angle, or leaving the site completely so your team can retake together.
The route changes from map to map, but the rule stays the same: don’t give the attackers an easy trade.
If you hold one obvious position for too long, a good T side will clear you with a molly, flash, or pre-aim. Once they know your location and you have no escape, you are no longer anchoring. You are waiting to be traded.
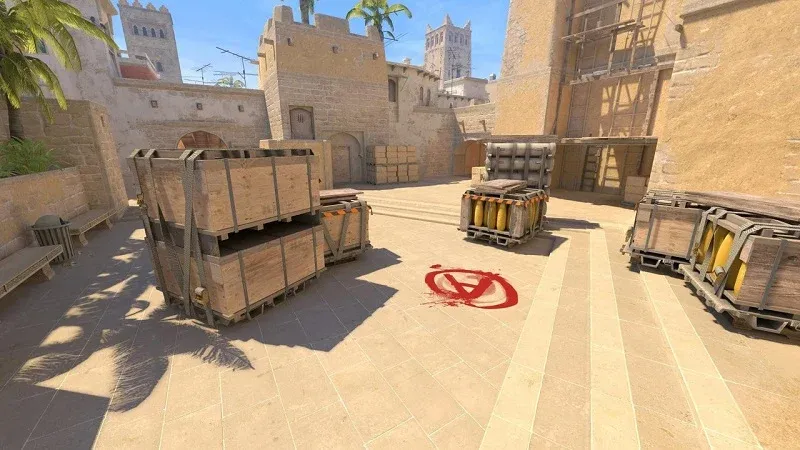
Your nades are what stop the enemy push from being free. A smoke can block the first wave. A molly can stop a fast entry path. A flash can let you reposition instead of forcing a dry duel. Even a single HE can confirm the presence of enemies, deal damage, and slow down low-HP players. For map-specific setups, practice a few reliable retake grenade lineups on Mirage, Inferno, and Ancient so your utility has a clear purpose instead of being thrown only when you panic.
Don’t throw nades just to feel active. Throwing everything too early can be just as bad as using nothing. If you dump every nade at the first sound cue, attackers can wait, re-hit, and isolate you once you are out of utility on site.
A better anchor plan looks like this:
The first fight is where a lot of site holds fall apart. You see one player, take the duel, miss the first bullet, get traded, and only then realize three more attackers were running just behind him. That is not a fair fight. That is isolation.
To stay alive through the opening pressure, stop treating every player you see as someone you must fight immediately. Sometimes the better move is a shoulder peek, a quick info jiggle, a molly in the choke, or a flash that lets you get out.
Before you commit, ask yourself three questions:
- Is this a real hit or just pressure?
- Am I fighting one player or a pack?
- Can my teammates trade or support me?
If you are alone against multiple players, delay first. Fight only when the duel actually helps the round.
Off-angles are strong when they give you a fast kill or a safe escape. They become weak when you are stuck there after being spotted. The same goes for info peeks: a quick shoulder peek or jump spot can tell your team a lot, but repeating it three times is asking to get pre-fired.
Most importantly, call early and clearly. Do not wait until you are dead to say, “They are all B.” Your teammates need useful information while they still have time to rotate.
Good anchor calls are short:
- “Two B apps, bomb not seen.”
- “Heavy utility banana, likely pushing.”
- “Bomb planting default.”
Your comms should help your team make the next decision. Call what you know, what you used, and what you need.
Retake Helps Anchors Understand What Happens After They Survive
Many anchors only practice the first fight on site. They hold an angle, take a duel, and judge the round by the kill feed.
That is only half of the role.
A CT anchor also has to understand what happens after the site push starts. If you buy time and fall back, your team still needs to retake. If you stay alive behind cover, your rotators can turn your position into a crossfire. If you die late but call the plant spot, the round is still easier to play.
Use Retake on xplay.gg to practice the moment after the site is already lost. The bomb is being planted, your teammates are rotating in, and you have to make the next fight playable. Don’t run around hunting kills. Check where the bomb is planted, hold a useful angle, keep your flash or smoke for the re-clear, and only swing when your teammate can trade.
This helps anchor players understand which site positions are worth fighting for. Some spots look strong because they might give you one kill, but they leave your team no way back in. Other spots feel passive, but they keep you alive long enough to flash, smoke the bomb, or trade the first retake contact.
For example, falling back toward CT with one smoke can be better than dying on default after one kill. From CT, you can smoke the bomb, flash a teammate in, or trade the first T swinging into the retake. Dead on site, you can only watch.
Use 5x5 and Personal Matches to Repeat One Site Defense
Anchoring is not only about your own position. Your decisions depend on what your teammates can actually do around you. If your rotator is close, you can play for contact. If your mid player is dead, you may need to give up space earlier. If a teammate can flash for you, you can hold a stronger angle. If nobody can help, your job is to stay alive, keep calling, and make the retake playable.
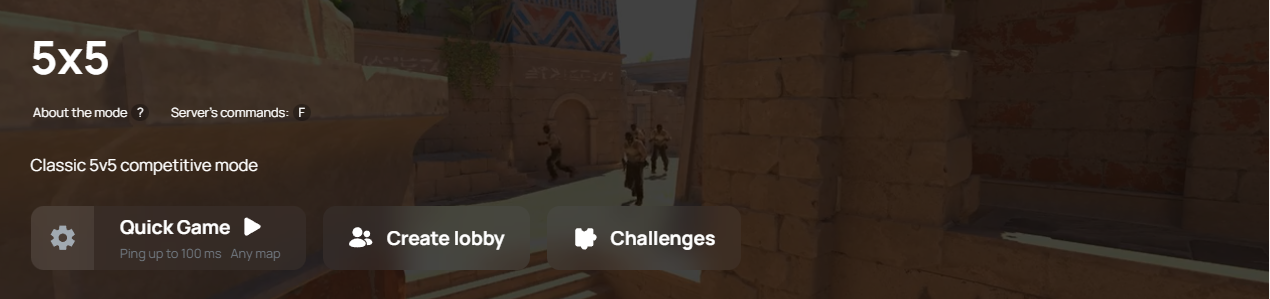
That is why 5x5 practice matters. It shows how your anchor choices affect the full CT setup, not just your own fight.
In 5x5, focus on one defensive question at a time:
- How fast should the rotator move after contact?
- Who throws the support flash?
- When does the anchor fall back?
- Who watches the late lurk?
- What call confirms the full rotate?
On xplay.gg, use Personal Matches before 5x5 to repeat one defensive scenario. That way, you are not waiting for matchmaking to give you the same site hit again. You can run the same hold, change one detail, and see which version works better.
You can repeat an A-site crossfire. One player takes first contact from site, while the second stays anti-flash and swings only when contact is called. Change one detail each rep: an earlier support flash, a deeper site position, or a faster fallback into retake. The goal is to learn when the anchor should fight with help instead of taking the first duel alone.
Another useful drill is a delayed retake setup. Let the Ts take the site, but keep the anchor alive near CT, market, temple, ramp, or another safe retake position with one smoke or flash. Then practice the retake timing: smoke the bomb, flash the first player in, and trade the opening fight instead of entering one by one.
Do not try to fix every CT side problem at once. Pick one site, one position, and one decision. “I need to anchor better” is too vague. “I need to survive B first contact with one smoke and a fallback route” is something specific to train.
Common CT Anchor Mistakes
Most anchor mistakes come from the same problem: you make the round about your first duel instead of the team’s full defense. The fix is usually not complicated, but it has to become a habit.
- Fighting too early.
If you swing the first sound cue or wide-peek the first player out, you usually give attackers a clean trade before rotations arrive. Buy time first, then fight when you have timing, utility, or trade support. - Dumping all utility too early.
Throwing every nade at the first bit of pressure leaves you with nothing when the real push starts. Save at least one smoke, molly, or flash for the actual site pressure. - Calling too late.
If your teammates only get the call after you die, they are already rotating into a bad round. Call sound, utility, numbers, bomb info, and your next move early. - Staying in one predictable angle.
Once attackers know your position, they can clear you with utility, a double swing, or a pre-aim. After being spotted, reposition, tuck, flash out, or fall back. - Dying without information.
Your team loses both the site and the read on the round. Call before the fight if pressure is coming. Even “three B, bomb seen” can save the retake. - Ignoring trade support.
A lot of anchors die alone right before help arrives. Check the minimap and play contact or crossfire when a teammate is close enough to trade. - Refusing to fall back.
Dying on site is not always heroic. If staying gives the team nothing, give up space and stay alive for a better 5v5 or 4v4 retake.
Don't review ten mistakes at once. Pick the decision that changed the round and fix it in the next rep.
CT anchor positions in CS2 are not about hiding on a bombsite and hoping attackers walk into your crosshair. A strong anchor buys time, gives useful information, uses utility with purpose, and survives long enough for the team to rotate.
On xplay.gg, use Retake to understand the late-round pressure after the site gets contested, then Personal Matches to repeat one anchor setup, and test the same rotations in 5x5.
You’re not trying to become passive. You’re trying to stop giving attackers clean, isolated fights for free.
Top 5 CS2 Anchor Role Players in 2026
- mezii, currently playing for Team Vitality
- b1t, currently playing for Natus Vincere
- HeavyGod, currently playing for G2
- TeSeS, currently playing for Falcons
- yuurih, currently playing for FURIA
These are some of the best anchor players to learn from if you want to understand how strong site defense works in CS2. Watch their demos or streams and pay attention to how they defend bombsites, the positions they choose, and how they react under pressure. Some anchors prefer taking fights and looking for multi-kills, while others focus on staying alive and buying as much time as possible for their teammates to rotate and provide support.
Every anchor has a different approach to the role, so it's worth watching a variety of players to find one whose style matches your own. Once you do, studying their games can be one of the fastest ways to improve your understanding of the anchor position.